
In this blog post, I will demonstrate how to utilize a Phi-3 Small Language Model running locally from the Power Platform. We will use the on-premises data gateway, enabling you to execute prompts against the on-premises model. Our focus will be on integrating the LLM into Copilot Studio, a Custom Connector, and a Canvas app.
Phi-3 SLM:
In this scenario, the Phi-3 SLM is running on a Linux server inside of my home. I am using Linux Mint 22, Linux 6.8.0-38-generic x86_64.
The first step is to install Ollama. To install Ollama on Linux perform the following two steps:
curl -fsSL https://ollama.com/install.sh | sh
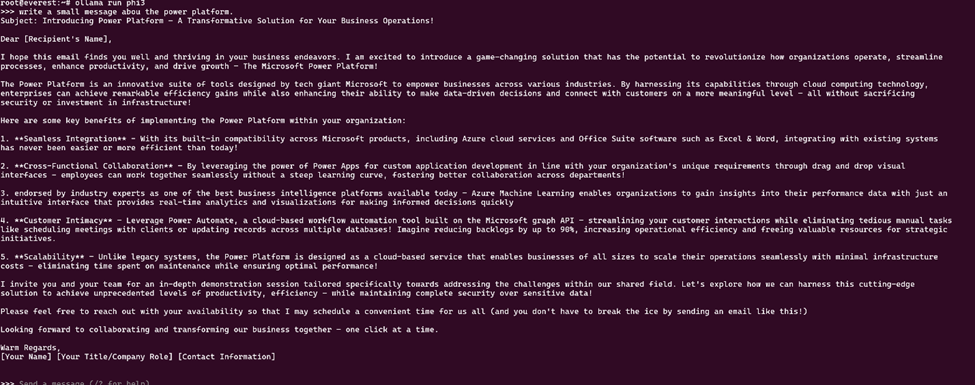
run ollama phi3
Ollama running:
Now that Ollama is installed and returning responses to prompts we need to set up a virtual environment.
A virtual environment in Linux is a self-contained directory that contains a Python installation for a particular version of Python, along with a number of additional packages. This setup allows you to manage dependencies for different projects independently.
Below are the steps to set up and use a virtual environment on a Linux system and install the packages we need for this scenario.
At the shell you would perform the following steps:
- mkdir llm_fastapi
- python3 -m venv llm_fastapi/
- cd llm_fastapi/
- source bin/activate
- pip install uvicorn
- pip install fastapi
- pip install requests
FastAPI is a modern, high-performance web framework for building APIs with Python. It leverages standard Python type hints to provide a fast and efficient way to create web APIs.
Create the following script in your Virtual Environment to setup a FastApi api.
from typing import Union
import uvicorn
from fastapi import FastAPI
from pydantic import BaseModel
import json
import requests
app = FastAPI(debug=True)
class Item(BaseModel):
    model: str
    prompt: str
urls =["http://localhost:11434/api/generate"]
headers = {
    "Content-Type": "application/json"
}
@app.post("/chat")
def update_item(item: Item):
    print(item.prompt)
    if "phi3" == "phi3":
        url = urls[0]
        payload = {
            "model": "phi3",
            "prompt": item.prompt,
            "stream": False
        }
        response = requests.post(url, headers=headers, data=json.dumps(payload))
        if response.status_code == 200:
            return {"data": response.text, "llms_name": "phi3"}
        else:
            print("error:", response.status_code, response.text)
            return {"item_name": item.model, "error": response.status_code, "data": response.text}
    return {"item_name": item.model, "llms_name": phi3}
if __name__ == "__main__":
    uvicorn.run(app, host="0.0.0.0", port=8000)
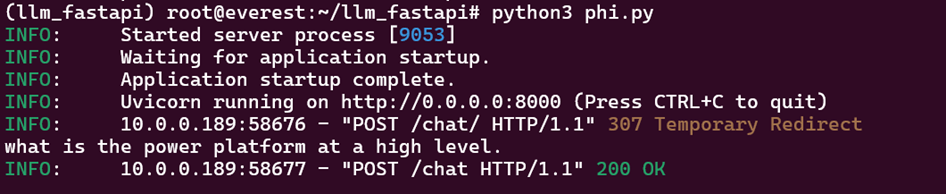
To run the FastApi script execute from the shell:
python3 phi.py

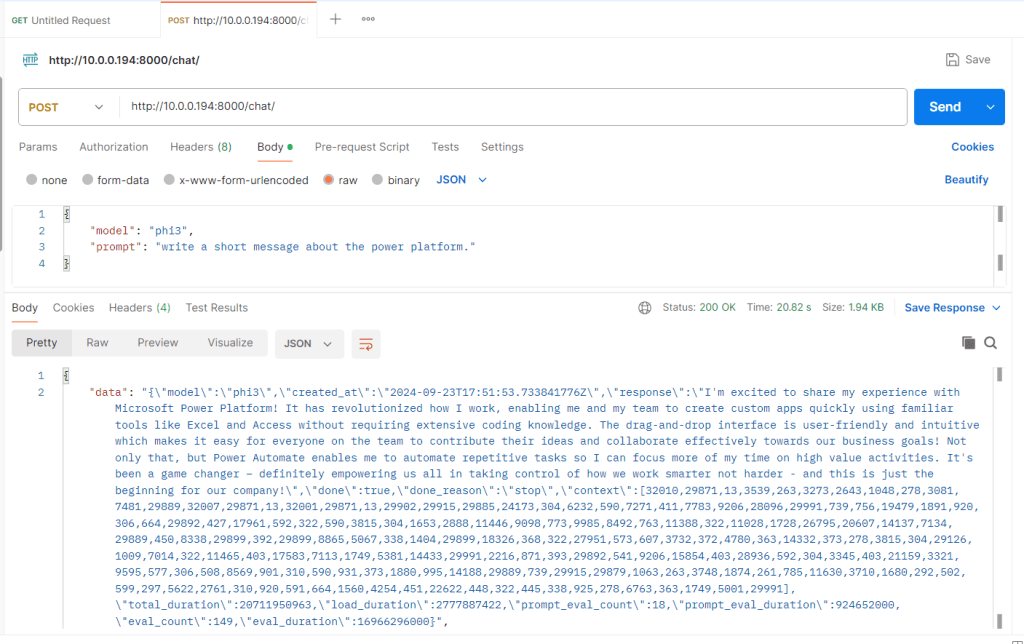
We can test the API call using Postman on the same network as our FastApi api to make sure everything is working properly.
The next step is to install the On-premise data gateway following the steps written by Copilot.
On-premises data gateway – Power BI | Microsoft Learn
Check Requirements:
Download the Gateway:
Go to the Microsoft Download Center and download the on-premises data gateway installer
Run the Installer:
Open the downloaded file and run the setup. Accept the terms and conditions
Sign In:
Sign in with your Office 365 account. This account will be used to register the gateway
Configure the Gateway:
Enter a name for your gateway and set a recovery key. This key is important for recovering or moving your gateway in the future
Complete the Installation:
Follow the prompts to complete the installation. Once installed, you can configure the gateway in the Power Platform admin center
Verify Installation:
Ensure the gateway is online and connected. You can do this by checking the status in the Power Platform admin center
Next, from https://copilotstudio.preview.microsoft.com/ I am going to create a Copilot in Copilotstudio.
The Copilot I am creating will call an Action to call the SLM. Here is the Copilot Topic in full.

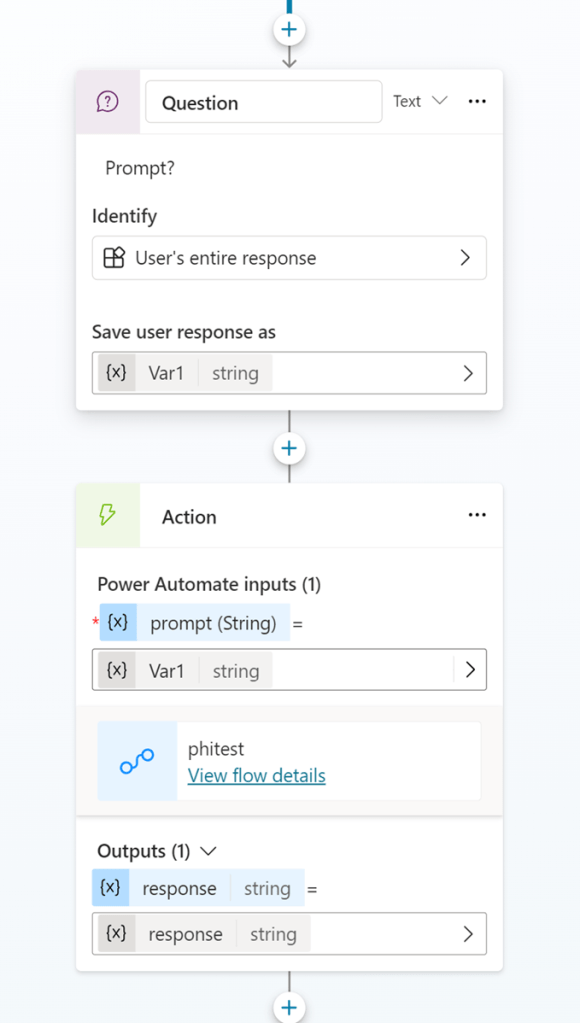
Next is the Action that the Copilot will execute to call the PHI3 SLM.
This screenshot shows the creation of the connection.
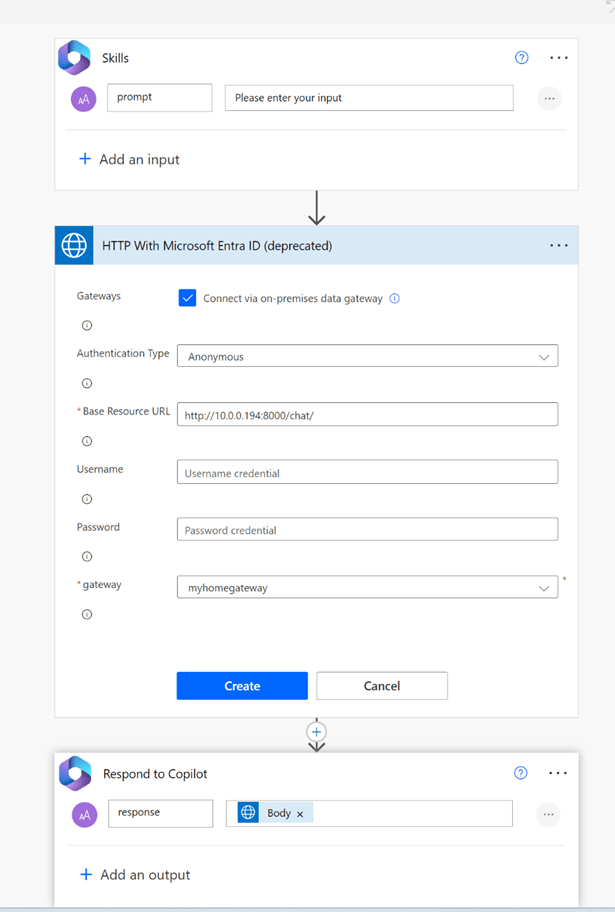
This screenshot shows the final Action.

When you test your Copilot for the first time you will need to make an additional connection.
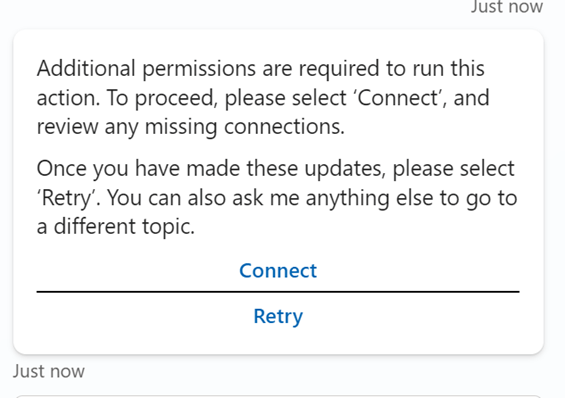
Click connect and create or use a connection.
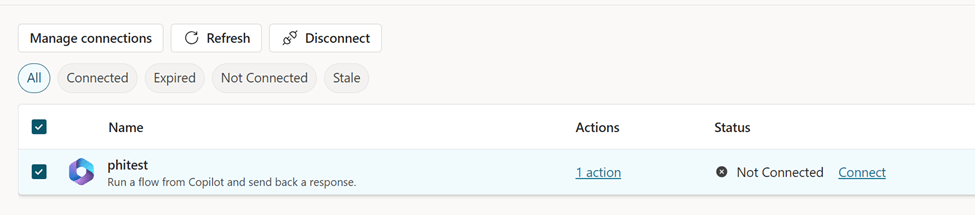

Once the connection is created, we can test the Copilot.
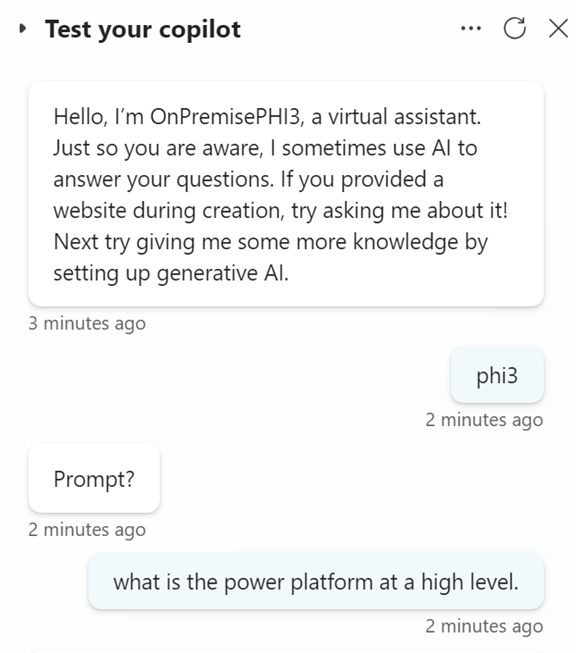
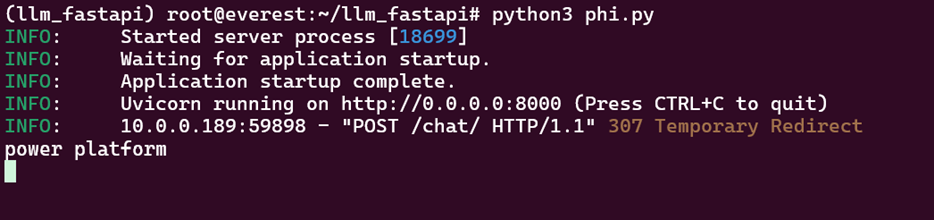
We can look at the FastApi webserver and see the prompt being written to stdout.
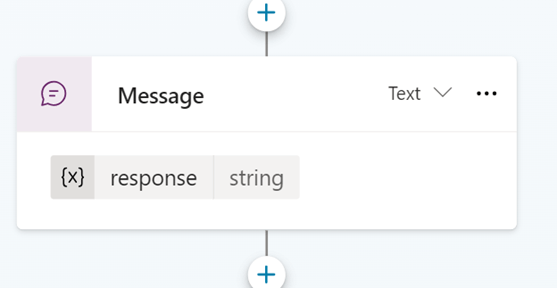
Here are the results from the Copilot in Copilot studio.

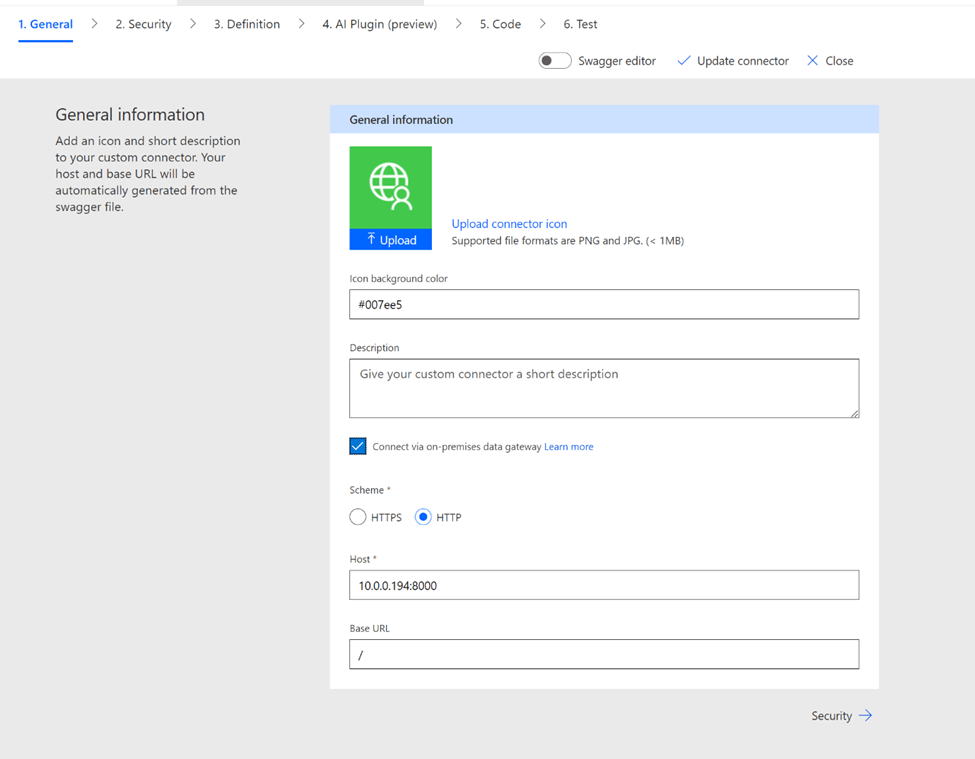
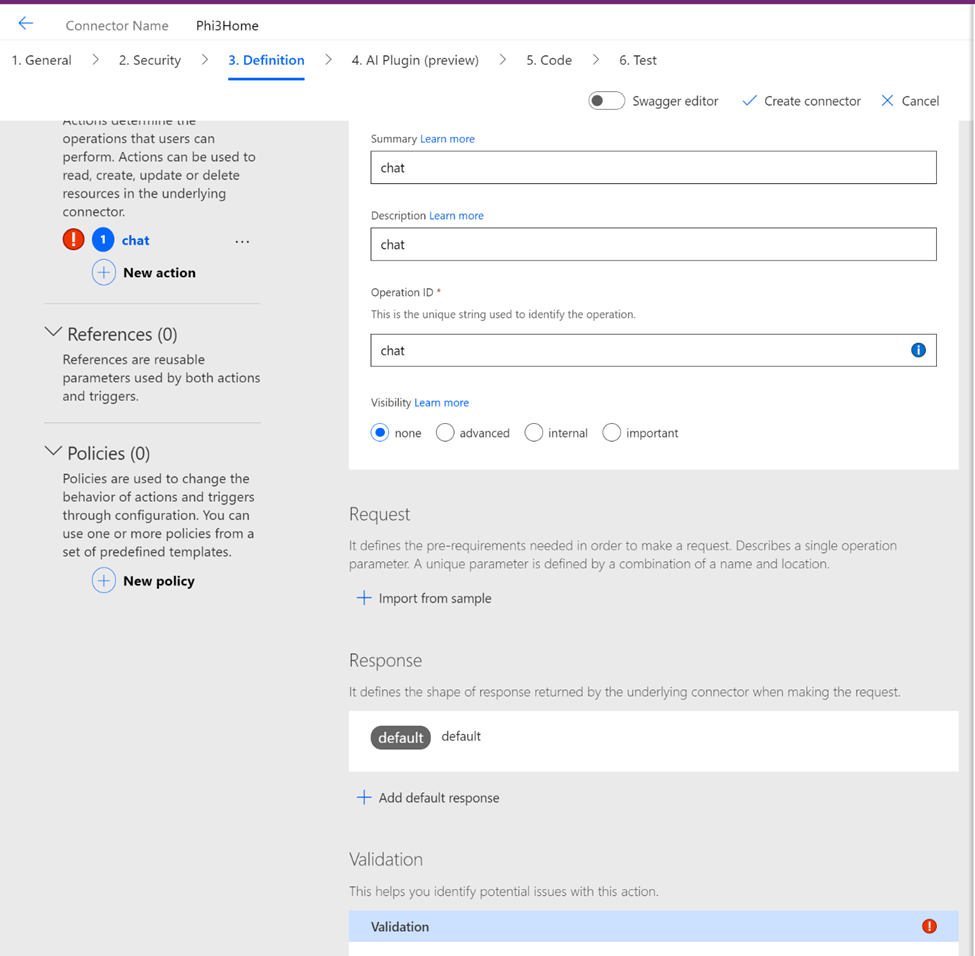
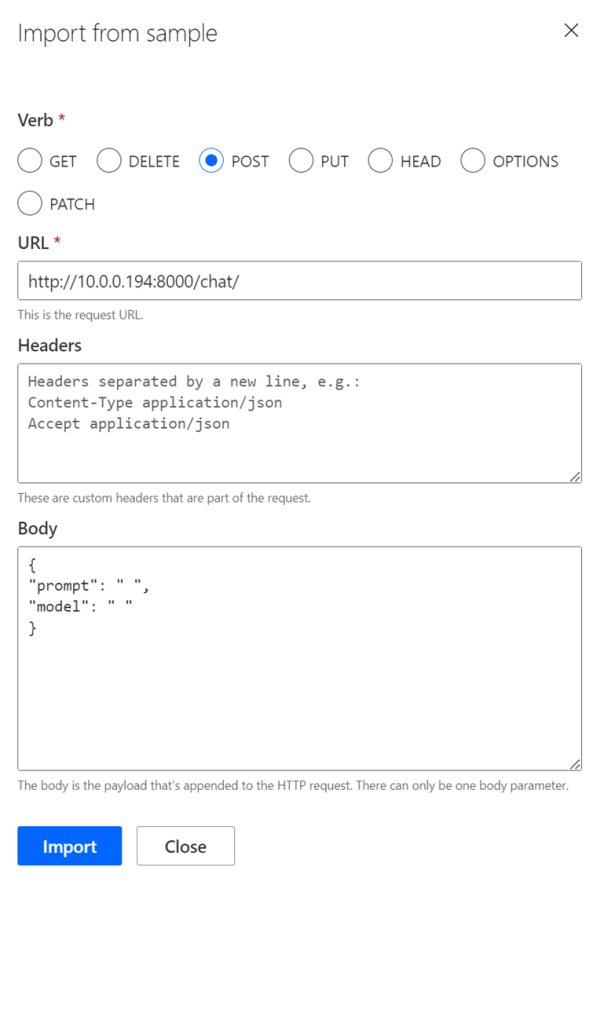
The next step in this journey is to create a Custom connector. This is the Custom connector for the FastAPI script that we created earlier in this blog post.

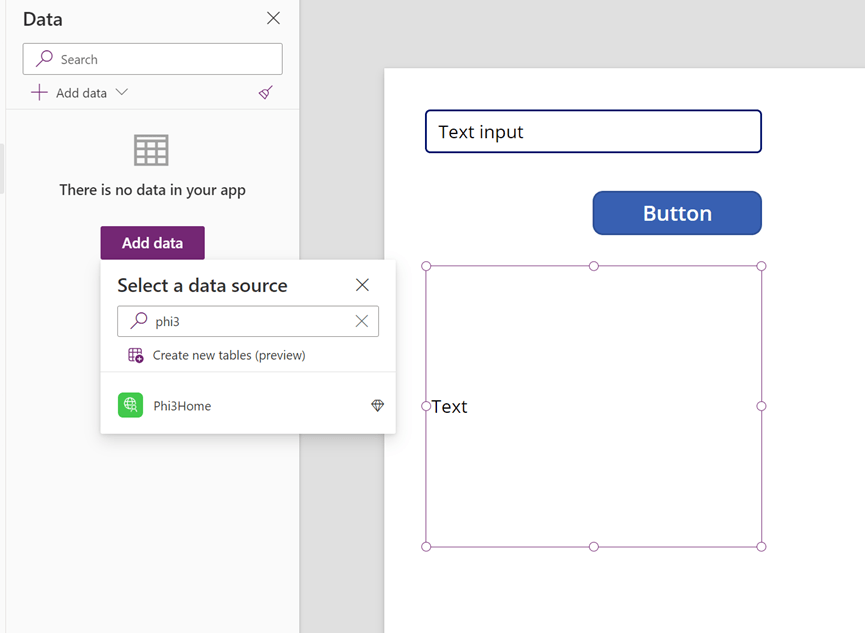
Now that the Custom connector is created, I am going to create a Canvas App. The Canvas app has a Text Input. A button, and Text or HTML output control.
We have to Add data and select the Custom connector we created in the previous step.
On the button here is the logic to call the SLM using the Custom Connector.

And here is the Text output logic to display the results.

When I click the Button here are the results of the query.

Output from FastApi webserver:
I hope you found this interesting and thank you for your time reading!

Leave a comment